Table of contents
Getting involved in open-source or starting with coding can be a great opportunity to learn new skills, collaborate with others, and make a difference. Whether you're an experienced developer or a complete beginner, this guide will help you take the first step towards making your first contribution to open-source. Let's get started and see how easy it can be to make an impact in the open-source community.
Are you eager to get started with open-source and coding, but don't know where to begin? You're in the right place! With this guide, you'll not only learn how to make your first contribution to open-source, but you'll also be able to show off your contribution on your profile. Let's get started, and it will only take you around 20 minutes to get it done.
The following are the steps to make your first contribution:
1. GO TO THE FIRST-CONTRIBUTION ORGANISATION ON GITHUB OR THE WEBSITE
The first-Contribution organization is the one that helps beginners get started with the open source they have made it so easy to make the first one.
Click on the image or go to https://github.com/firstcontributions/first-contributions
2. INSTALL GIT AND CREATE AN ACCOUNT ON GITHUB
Creating an account on GitHub all you have to do is sign up, or log in using a google account
For Installing git, you can download it from https://git-scm.com/download/win
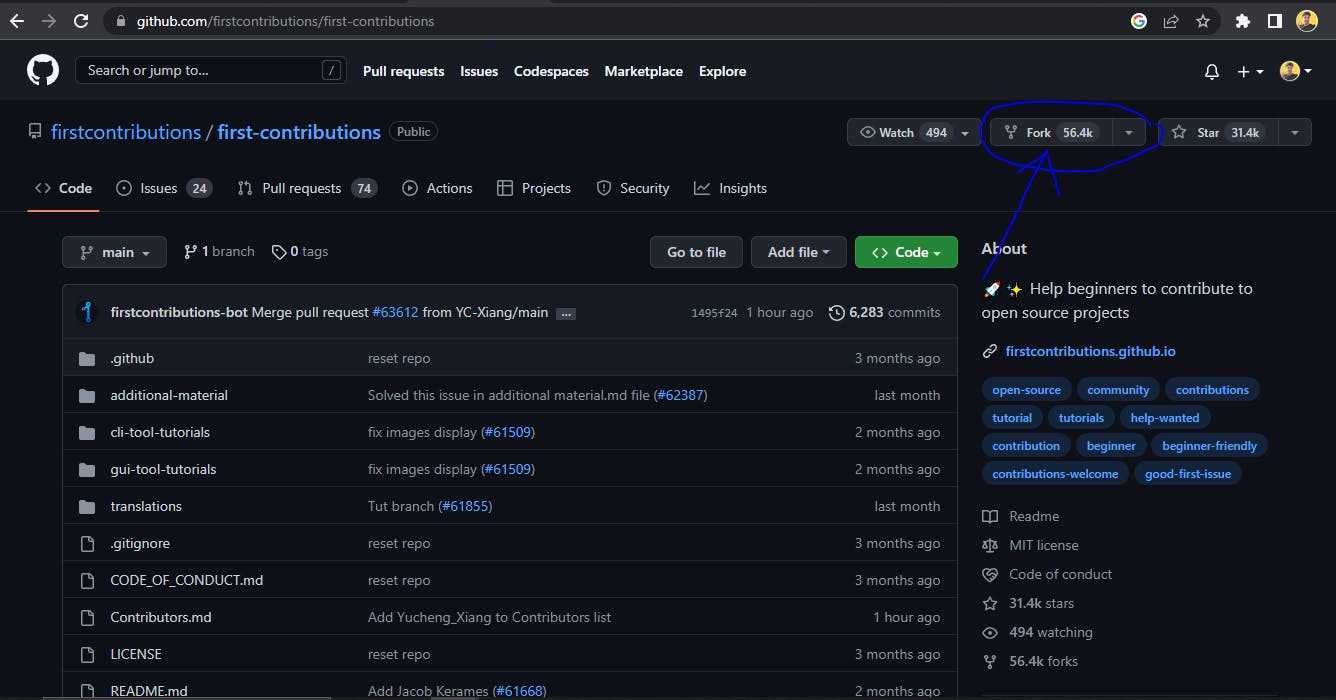
3. FORK THE FIRST-CONTRIBUTION PROJECT
For forking the project go to https://github.com/firstcontributions/first-contributions and click the fork icon on the top right side.
4. CLONE THE DRIVE TO YOUR LOCAL SYSTEM
For cloning the drive to your local system, go to your system and create a folder where you want to clone the drive, go into that folder and right-click open git bash, or you can open git bash and navigate it to your folder
Now go to your forked repository and click on the code and then copy the HTTP link
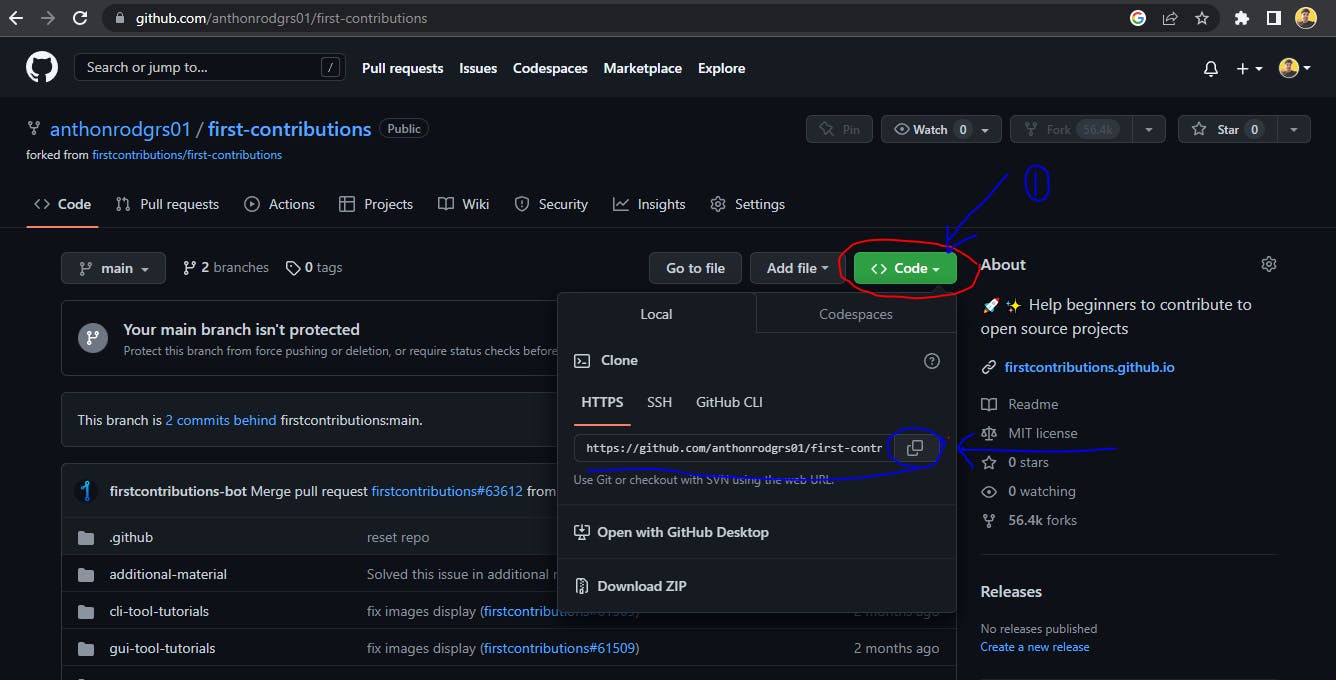
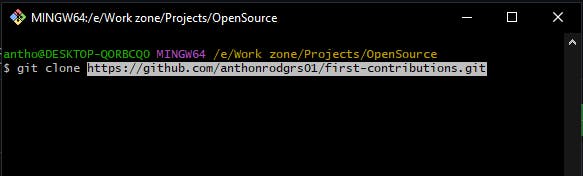
Once this is done you will see the files of the project on your local system
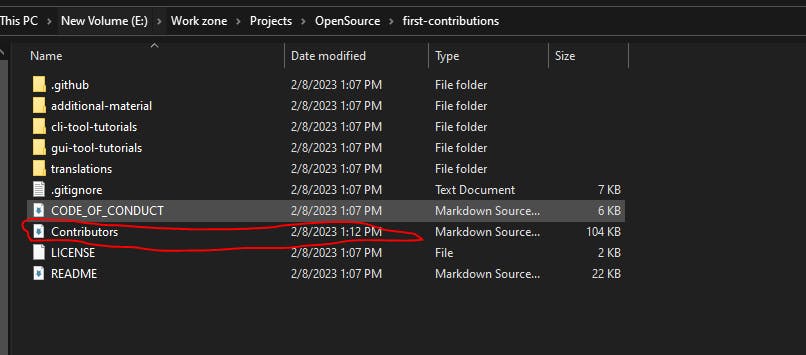
5. EDIT CONTRIBUTORS.MD
Now go to your-project-file>first-contributions>Contributors.md
Open the file in notepad or visual studio code and add your name and GitHub profile link to it
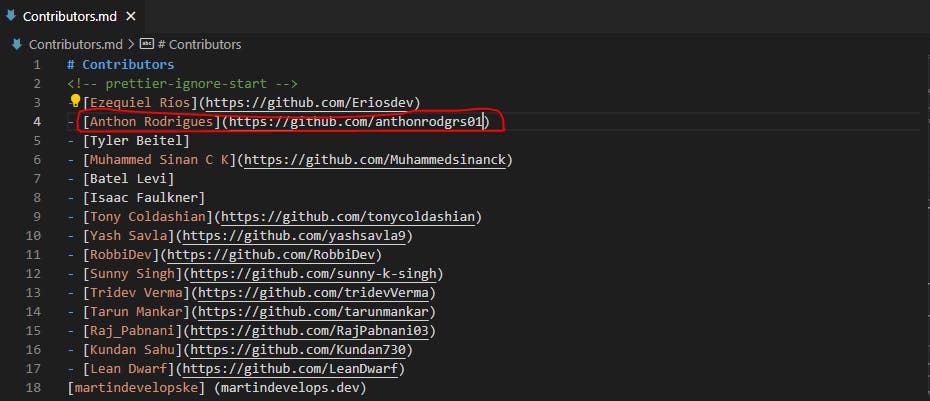
Enter your name as: "- [Your-name](your-GitHub-profile-link)"
Do not change the data of others
6. CREATE A NEW BRANCH
Open git bash and switch the branch from master to your-branch
Command Line 1: cd first-contributions
Command Line 2: git switch -c your-new-branch-name
For example git switch -c king-Slayer

7. COMMIT TO GITHUB
Once you have made the changes and switched the branch on is time for you to commit the change or save the changes to GitHub
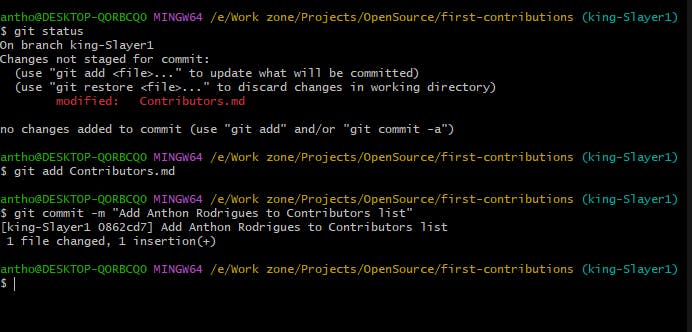
Go to Git bash:
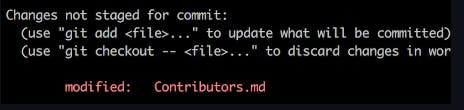
Command 1: git status
Command 2: git add Contributors. md
Command 3: git commit -m "Add your-name to Contributors list"
8. PUSH THE CHANGES TO GITHUB
Now its time to push the files to GitHub
Command: git push -u origin your-branch-name
example: git push -u origin king-slayer
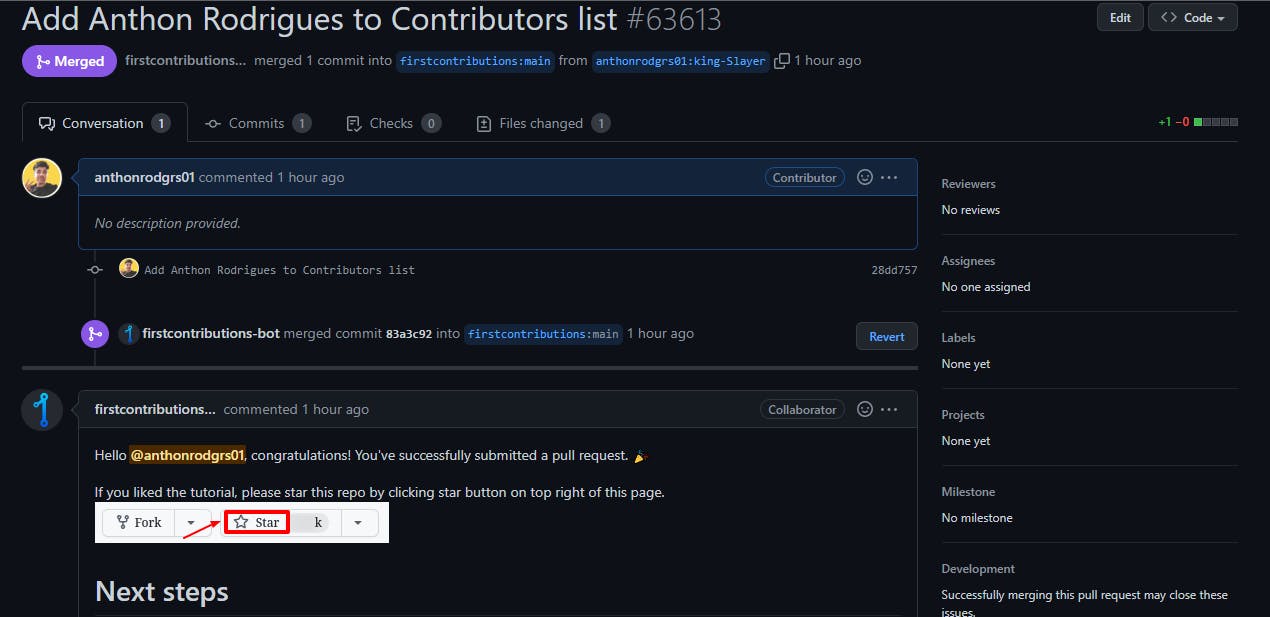
9. SUBMIT CHANGES FOR REVIEW
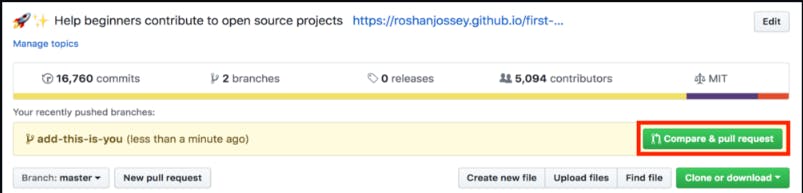
If you go to your repository on GitHub, you'll see a Compare & pull request button. Click on that button.
Now open the pull request
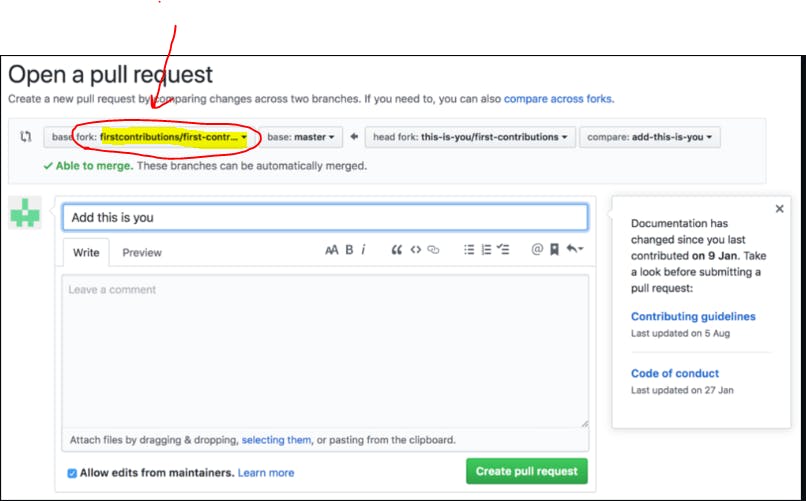
Ensure that the base fork: is first contribution/first-contributions
And click create a pull request, the maintainers will review your request and merge it, that's your first contribution to open source